
티스토리 뷰
단순하게 Spring Boot Security 5에 대해 코드만 작성하는 글이 아니라, 이해를 위한 글을 작성하기 노력하고 있습니다.
Oauth2.0을 알아보기 전에 기본인 HTTP Basic 로그인에 대해 알아보겠습니다.
1. 종속성 추가하기
먼저 종속성을 추가해줍니다. 기존 프로젝트에 시큐리티만 추가하면 됩니다.
lombok은 코드를 간편하게 쓰기 위해 추가했습니다.
dependencies {
    implementation 'org.springframework.boot:spring-boot-starter-security'
    implementation 'org.springframework.boot:spring-boot-starter-web'
    compileOnly 'org.projectlombok:lombok'
    annotationProcessor 'org.projectlombok:lombok'
    testImplementation 'org.springframework.boot:spring-boot-starter-test'
    testImplementation 'org.springframework.security:spring-security-test'
}
1-2. 시큐리티 추가만으로 생기는 보안
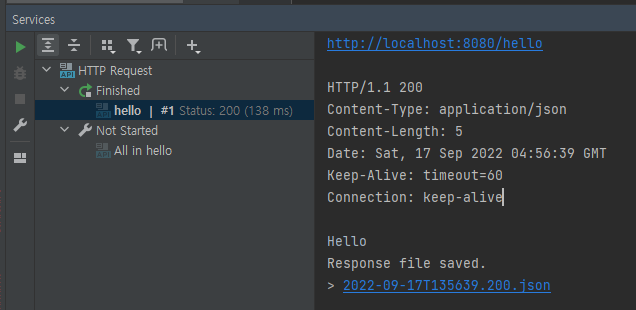

이렇게 라이브러리를 단순히 추가함으로 왼쪽(추가 전)에 되던 통신이 오른쪽처럼 401로 막히게 됩니다.
정확하지는 않지만, 실제 코드 실행 시 막히는 현상을 파악했습니다.
TIP ^V^
401은 사용자가 로그인이 되어 있지 않은 상태 => 인증 실패 (개발자는 앱 설계 시 자격 증명이 누락되거나 잘못되었을 때 )
403은 사용자가 권한이 없는 상태 => 권한 부여 실패, 호출자를 식별하였지만, 이용 권리 없음을 나타냄
2. 스프링 시큐리티 인증 절차 설명
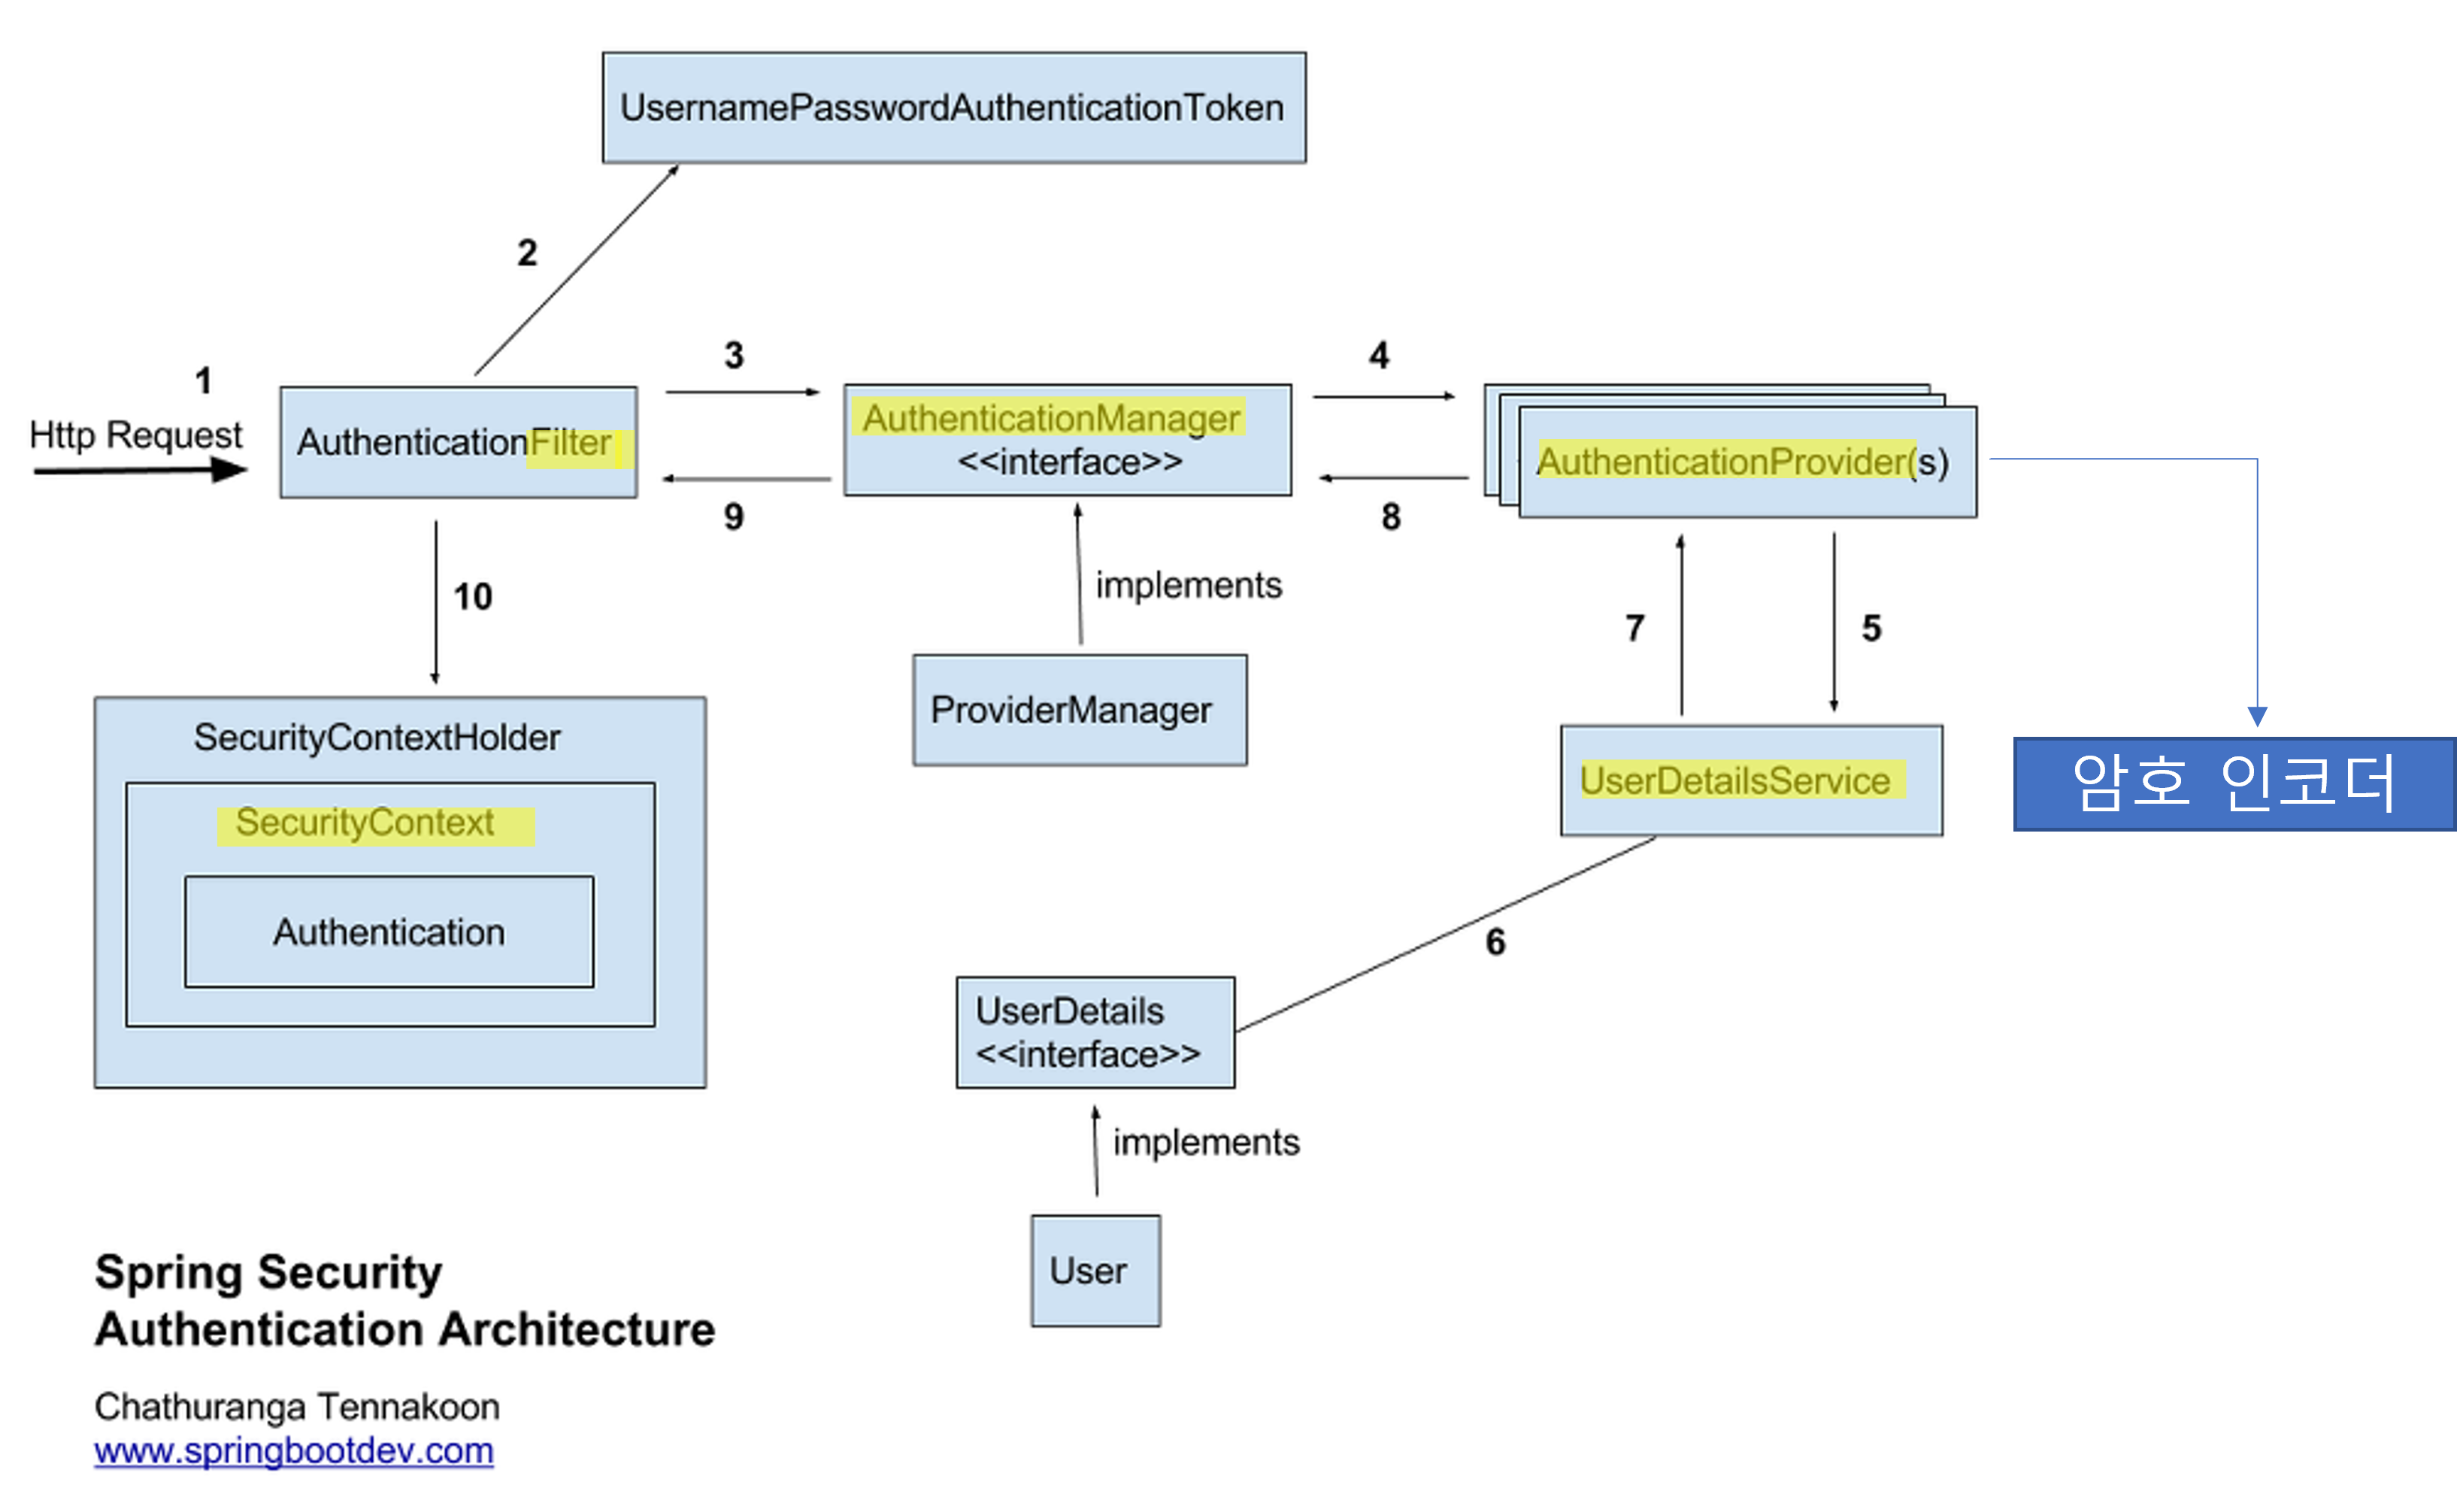
조금 복잡하게 되어있지만 하이라이트만 확인해보면 좋겠습니다. Oauth2.0을 사용하면 위에 정의된 아키텍쳐에 들어가는 구성 요소의 이름이 조금 바뀝니다.
1. 인증 필터 (Authentication Filter): 인증 요청을 인증 관리자에게 위임하고 응답을 바탕으로 보안 컨텍스트를 구성함
2. 인증 관리자 (Authentication Manager): 인증 공급자를 이용하여 인증을 처리한다.
3. 인증 공급자 (Authentication Provider):
- 사용자 관리 책임을 구현하는 사용자 세부 정보 서비스를 인증 논리에 이용한다.
- 암호 관리를 구현하는 암호 인코더를 인증 논리에 이용한다.
4. 유저 세부 정보 서비스 (User Details Service)
5. 보안 컨텍스트(Security Context): 인증 프로세스 후 인증 데이터를 유지한다.
3. 자동으로 구성되는 빈
1. UserDetailsService
2. PasswordEncoder
인증 공급자 (Authentication Provider)는 위 두 개의 빈을 이용하여 1) 사용차를 찾고, 2) 암호를 확인합니다.
사용자 정보 관리하는 UserDetailsService
스프링 시큐리티에서 기본적으로 제공하는 기본 구현을 이용했지만, 우리는 입맛에 맞게 바꿔서 사용한다.
1차 정리
1. 기본적으로 UserDetailsService와 PasswordEncoder가 Basic 인증 흐름에 꼭 필요하다는 사실을 인지해야 한다.
2. Basic 인증에서는 클라이언트가 사용자 이름과 암호를 HTTP Authorization 헤더를 통해 보내기만 하면 된다.
=> 헤더 값에 접두사 Basic을 붙이고 그 뒤에 :으로 구분된 사용자 이름과 암호가 포함된 문자열을 Base64 인코딩하여 붙인다.
4. 문제🙄: 기존 websecurityconfigureradapter deprecated
기존에 사용하던 WebSecurityConfigureradapter가 Deprecated 되었다. 거의 대부분 인터넷이나 서적을 찾아보면 이를 사용하는 코드가 적혀있지만, 현재 기준으로 Deprecated가 되어 다른 코드를 사용해야 한다. 자세한 내용은 아래 하단 링크를 통해 확인하면 된다.
https://spring.io/blog/2022/02/21/spring-security-without-the-websecurityconfigureradapter
Spring Security without the WebSecurityConfigurerAdapter
<p>In Spring Security 5.7.0-M2 we <a href="https://github.com/spring-projects/spring-security/issues/10822">deprecated</a> the <code>WebSecurityConfigurerAdapter</code>, as we encourage users to move towards a component-based security configuration.</p> <p
spring.io
- 고민해야하는 것, Bean? 메소드 재정의?
시큐리티를 이용할 때 두 가지 방법을 사용할 수 있다. 둘 중 하나만으로 구현해야지 일관성이 있고, 코드가 헷갈리지 않는다.
@EnableSecrurity 어노테이션
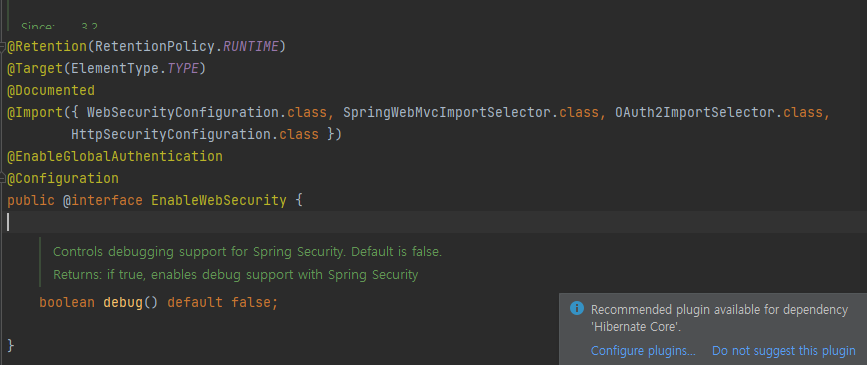
클래스 밖에 Configuration 어노테이션을 붙일 필요가 없다. 이미 EnableWebSecurity 인터페이스 안에 우리가 사용하고자 하는 어노테이션이 있으니 Configuration 어노테이션을 붙일 필요없다.
6. HttpBasic 활성화
    @Bean
    public SecurityFilterChain filterChain(HttpSecurity http) throws Exception {

        http.httpBasic();
        http.authorizeRequests()
            .anyRequest().authenticated();

        return http.build();
    }
https://docs.spring.io/spring-security/site/docs/current/api/
Overview (spring-security-docs 5.7.3 API)
Authentication processing mechanisms, which respond to the submission of authentication credentials using various protocols (eg BASIC, CAS, form login etc).
docs.spring.io
7. User Entity 생성
로그인 구현하기 위해 DB상에 user 테이블을 생성합니다. 생성하는 이유는 유저의 정보를 DB 상에 저장하기 위함입니다.
만약에 이를 이용하지 않는다면 메모리에 저장해두면 됩니다. 이 방법은 따로 이 글에선 알아보지 않겠습니다.
import javax.persistence.*;
import java.util.List;

@Entity
public class User {

    @Id
    @GeneratedValue
    private Integer id;

    private String username;
    private String password;

    @OneToMany(mappedBy = "user", fetch = FetchType.EAGER)
    private List<Authority> authorities;

    public List<Authority> getAuthorities() {
        return authorities;
    }

    public String getUsername() {
        return username;
    }

    public String getPassword() {
        return password;
    }

}
8.UserRepository 생성
FindUserByUsername 메소드를 하나 작성해줍니다. 작성 이유는 Username으로 값을 조회하기 위함입니다.
import org.springframework.data.jpa.repository.JpaRepository;
import org.springframework.stereotype.Repository;

import java.util.Optional;

@Repository
public interface UserRepository extends JpaRepository<User, Integer> {
    Optional<User> findUserByUsername(String username);
}
9. CustomUserDetail 생성
이 클래스를 생성하는 이유는 Security Context에 저장되는 인증 객체를 만들기 위함입니다.
이 클래스는 추후 컨트롤러에서 파라미터로 받아오는 객체의 클래스입니다.
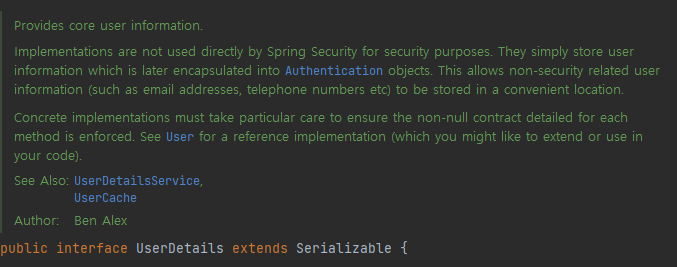
먼저 코드를 살펴보면 UserDetails를 구현합니다. 코드를 확인해봅시다.
import com.example.demo.User;
import org.springframework.security.core.GrantedAuthority;
import org.springframework.security.core.authority.SimpleGrantedAuthority;
import org.springframework.security.core.userdetails.UserDetails;

import java.util.Collection;
import java.util.stream.Collectors;

public class CustomUserDetails implements UserDetails {

    private final User user;

    public CustomUserDetails(User user) {
        this.user = user;
    }

    @Override
    public Collection<? extends GrantedAuthority> getAuthorities() {
        return user.getAuthorities().stream().map(a -> new SimpleGrantedAuthority(a.getName())).collect(Collectors.toList());
    }

    @Override
    public String getPassword() {
        return user.getPassword();
    }

    @Override
    public String getUsername() {
        return user.getUsername();
    }

    @Override
    public boolean isAccountNonExpired() {
        return true;
    }

    @Override
    public boolean isAccountNonLocked() {
        return true;
    }

    @Override
    public boolean isCredentialsNonExpired() {
        return true;
    }

    @Override
    public boolean isEnabled() {
        return true;
    }

    public final User getUser() {
        return user;
    }

}
실제 코드를 확인해보면 위와 같은 주석이 있습니다.
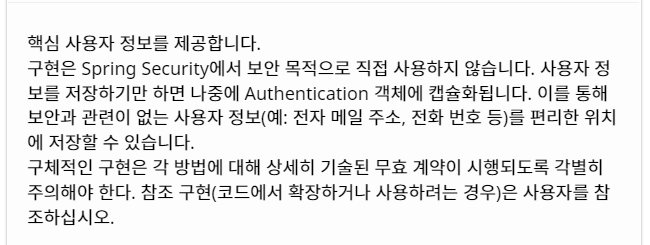
Authentication 객체에 캡슐화가 된다는 부분이 중요합니다. 왜냐하면 나중에 Security Context에 넣을 때 Authentication 객체만 들어가기 때문입니다. 그래서 우리는 User 객체를 가지고 있지만 Authentication으로 캡슐화가 될 수 있는 UserDetails를 구현합니다.

권한, 비밀번호, 아이디 등에 관한 메소드를 정의하고 있습니다.
authentication 인터페이스는 아래 링크를 통해 확인할 수 있습니다.
10. JpaUserService 생성
Jpa라고 붙은 이유는 Data Jpa 라이브러리를 통해서 디비 상에 값이 존재하는지 확인하기 때문입니다.
또한 이 클래스의 loadUserByUsername메소드는 위에서 정의한 CustomUserDeatils 객체를 반환합니다.
import com.example.demo.User;
import com.example.demo.UserRepository;
import org.springframework.security.core.userdetails.UserDetailsService;
import org.springframework.security.core.userdetails.UsernameNotFoundException;
import org.springframework.stereotype.Service;

import java.util.function.Supplier;

@Service
public class JpaUserDetailsService implements UserDetailsService {

    private final UserRepository userRepository;

    public JpaUserDetailsService(UserRepository userRepository) {
        this.userRepository = userRepository;
    }

    @Override
    public CustomUserDetails loadUserByUsername(String username) throws UsernameNotFoundException {
        Supplier<UsernameNotFoundException> s = () -> new UsernameNotFoundException("Problem during authentication!");

        User user = userRepository.findUserByUsername(username).orElseThrow(s);

        return new CustomUserDetails(user);
    }

}
11. AuthenticationProviderService 생성
상단 부분을 다시 읽어보면, Provider가 무슨 일을 하는 지 알 수 있습니다. 다음과 같습니다.
3. 인증 공급자 (Authentication Provider):
- 사용자 관리 책임을 구현하는 사용자 세부 정보 서비스를 인증 논리에 이용한다.
- 암호 관리를 구현하는 암호 인코더를 인증 논리에 이용한다.
결국 인증한다는 사실만 기억하세요!
import org.springframework.security.authentication.AuthenticationProvider;
import org.springframework.security.authentication.BadCredentialsException;
import org.springframework.security.authentication.UsernamePasswordAuthenticationToken;
import org.springframework.security.core.Authentication;
import org.springframework.security.core.AuthenticationException;
import org.springframework.security.crypto.bcrypt.BCryptPasswordEncoder;
import org.springframework.security.crypto.password.PasswordEncoder;
import org.springframework.stereotype.Service;

@Service
public class AuthenticationProviderService implements AuthenticationProvider {

    private final JpaUserDetailsService userDetailsService;

    private final BCryptPasswordEncoder bCryptPasswordEncoder;

    public AuthenticationProviderService(JpaUserDetailsService userDetailsService, BCryptPasswordEncoder bCryptPasswordEncoder) {
        this.userDetailsService = userDetailsService;
        this.bCryptPasswordEncoder = bCryptPasswordEncoder;
    }

    @Override
    public Authentication authenticate(Authentication authentication) throws AuthenticationException {

        String username = authentication.getName();
        String password = authentication.getCredentials().toString();

        CustomUserDetails user = userDetailsService.loadUserByUsername(username);

        return checkPassword(user, password, bCryptPasswordEncoder);
    }

    @Override
    public boolean supports(Class<?> authentication) {
        return UsernamePasswordAuthenticationToken.class.isAssignableFrom(authentication);
    }

    public Authentication checkPassword(CustomUserDetails user, String rawPassword, PasswordEncoder encoder) {
        if(encoder.matches(rawPassword, user.getPassword())) {
            return new UsernamePasswordAuthenticationToken(user.getUsername(), user.getPassword(), user.getAuthorities());
        } else {
            throw new BadCredentialsException("Bad credentials");
        }
    }
}
12. 설정
import org.springframework.context.annotation.Bean;
import org.springframework.context.annotation.Configuration;
import org.springframework.security.config.annotation.web.builders.HttpSecurity;
import org.springframework.security.config.annotation.web.configuration.EnableWebSecurity;
import org.springframework.security.crypto.bcrypt.BCryptPasswordEncoder;
import org.springframework.security.web.SecurityFilterChain;

@Configuration
@EnableWebSecurity
public class ProjectConfig {

    private final AuthenticationProviderService authenticationProvider;

    public ProjectConfig(AuthenticationProviderService authenticationProvider) {
        this.authenticationProvider = authenticationProvider;
    }

    @Bean
    public SecurityFilterChain filterChain(HttpSecurity http) throws Exception {

        http.httpBasic();

        http.authorizeRequests()
            .anyRequest().authenticated();

        http.authenticationProvider(authenticationProvider);

        http.formLogin()
                .defaultSuccessUrl("/main", true);

        return http.build();
    }

    @Bean
    public BCryptPasswordEncoder bCryptPasswordEncoder() {
        return new BCryptPasswordEncoder();
    }

}
AuthenticationProvder도 설정해주시면 됩니다.
이정도면 HTTP BASIC은 성공입니다.
다음 글에서는 Oauth2.0 로그인을 알아보겠습니다.
'코딩 관련 > JAVA' 카테고리의 다른 글
| Thymeleaf 자바스크립트 내 변수 저장 및 외부 Js 내 사용 (0) | 2023.06.03 |
|---|---|
| Spring Boot Security 5 - Oauth2.0 구글 로그인 - 2 - 작성 중 (0) | 2022.09.23 |
| 스프링 시큐리티 Oauth2.0 트위치 적용 (0) | 2022.07.13 |
| Spring DI 방법론 (0) | 2022.06.26 |
| android appwidget/Home Screen Widget/Button Click Event에 관해 (0) | 2018.10.10 |